 ( 162 ) 31-July-2014
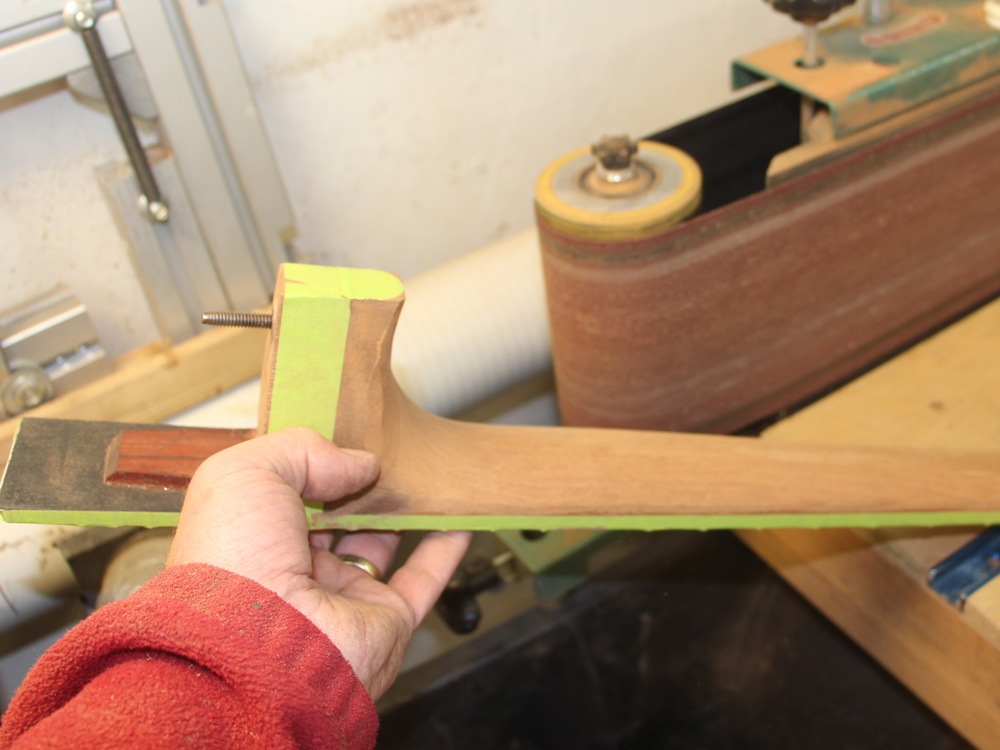
I use this template attached with double stick tape to guide the shaping of the headstock.
for Mark R.
( 162 ) 31-July-2014
I use this template attached with double stick tape to guide the shaping of the headstock.
 ( 163 ) 31-July-2014
A guide wheel on the bottom of the sanding drum follows the template.
 ( 164 ) 31-July-2014
I use the router table to trim up the sides of the neck.
 ( 165 ) 31-July-2014
Looking like a neck.
 ( 166 ) 31-July-2014
To shape the neck I use a variety of tools. This is truly a case of gluing a bunch of wood together and then removing everything that doesn't look like a neck. The masking tape tells me where I don't want to remove any wood.
 ( 167 ) 31-July-2014
I invented this tool made from a matrix of contour gauges to help me measure and visualize the neck's profile.
 ( 168 ) 31-July-2014
I drop the tool over the neck and then I get a view of the cross section of the neck in four spots.
 ( 169 ) 31-July-2014
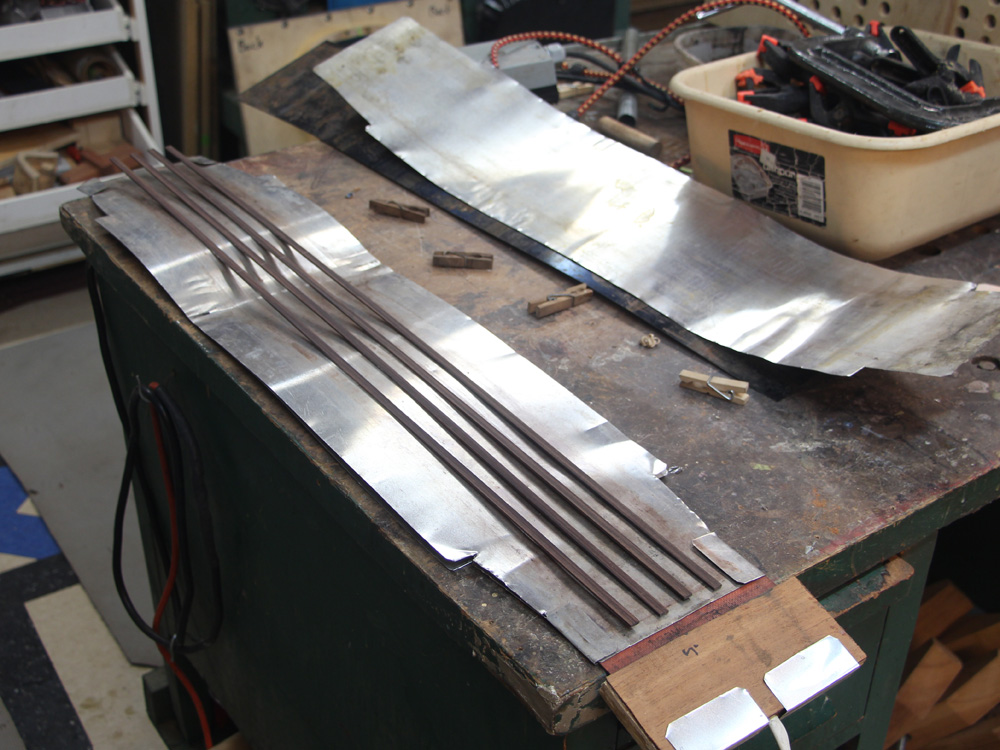
We decided to make the binding from Indian Rosewood, so it needs to be bent into the shape of the guitar. Here I have laid out the strips in the heating blanket.
 ( 170 ) 31-July-2014
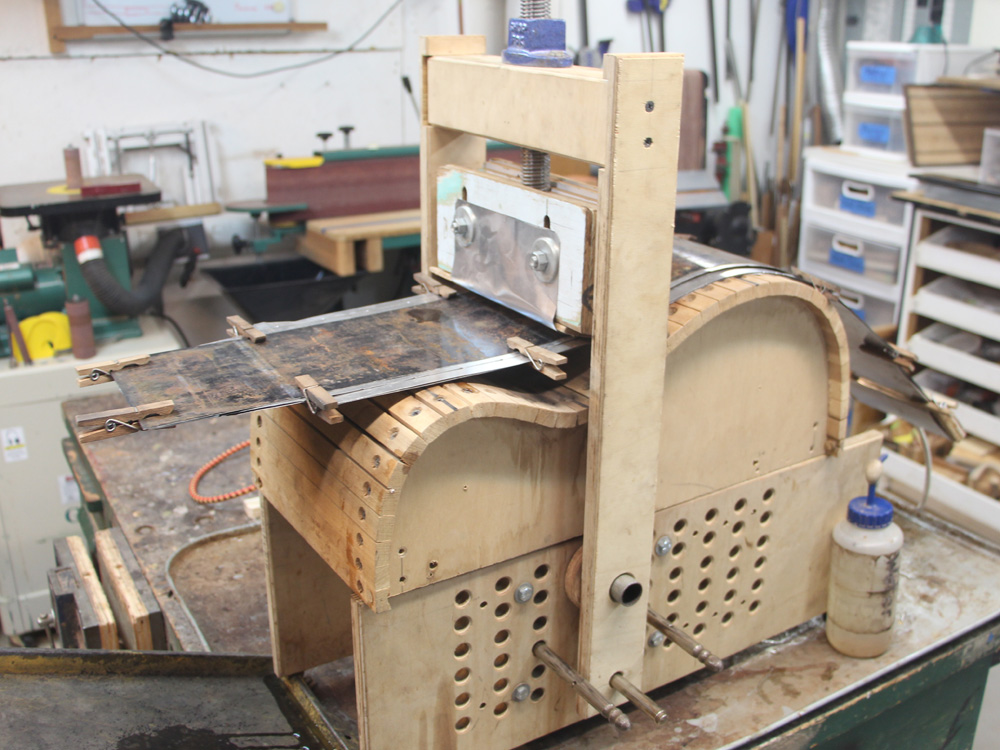
And then I use the bending machine to bend them into shape.
 ( 171 ) 31-July-2014
Before cutting the binding channels I level the top using an orbital sander. I reduce the thickness of the top around the perimeter to promote its mobility.
 ( 172 ) 31-July-2014
Here I have set up my binding router (The Universal Bindalator). This tool gives me five degrees of freedom while holding the router parallel to the sides of the guitar.
 ( 173 ) 31-July-2014
 ( 174 ) 31-July-2014
I can accurately control the depth and height of the channels.
 ( 175 ) 31-July-2014
Since the top and back are domed, the platen of the router is convex so that it makes contact with the top right next to the bit.
 ( 176 ) 31-July-2014
 ( 177 ) 31-July-2014
I use a few shims to center the neck in the heel channel.
 ( 178 ) 31-July-2014
And then I mark the width of the binding around the heel.
 ( 179 ) 31-July-2014
I use a small hand router to cut the channel for the heel binding.
 ( 180 ) 31-July-2014
The heel binding makes a snug fit.
 ( 181 ) 31-July-2014
A small saw is use to trim off the excess binding.
 ( 182 ) 31-July-2014
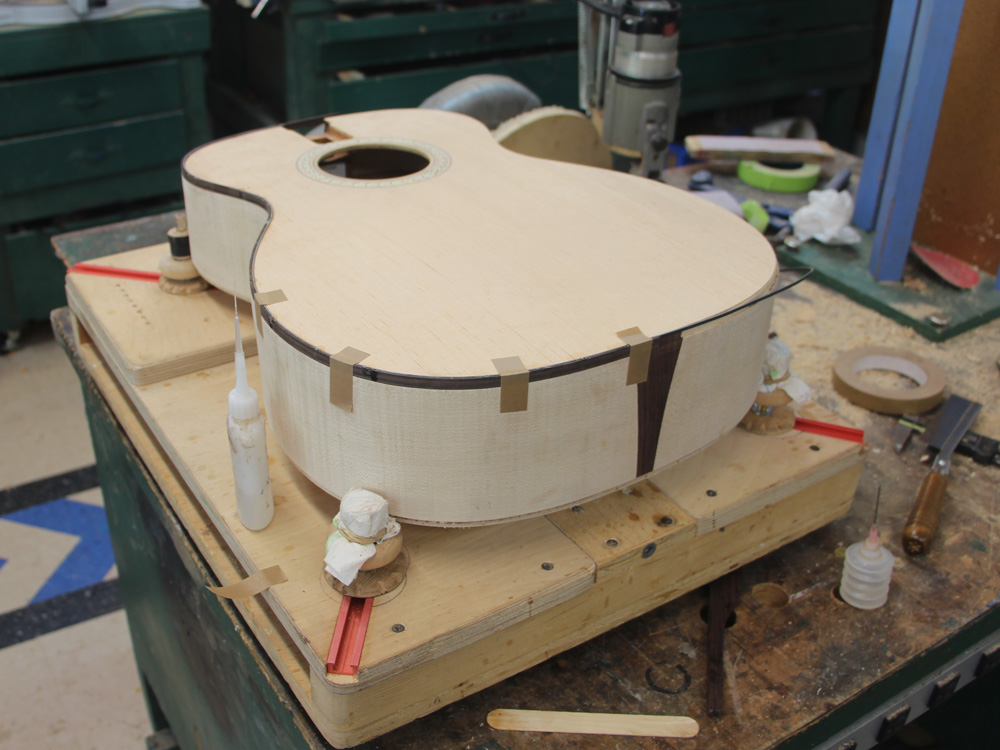
Now I can start installing the rest of the binding.
 ( 183 ) 31-July-2014
I carefully trim the binding so it stops in the middle of the tail graft.
 ( 184 ) 31-July-2014
 ( 185 ) 31-July-2014
I use a bit of CA glue and accelerator to glue the binding in place. I carefully work my way around the perimeter making sure the binding and purfling fits without any gaps.
 ( 186 ) 31-July-2014
After all of the binding is in place I level everything with a variety of sanding tools.
 ( 187 ) 31-July-2014
Next up is the headstock.
 ( 188 ) 31-July-2014
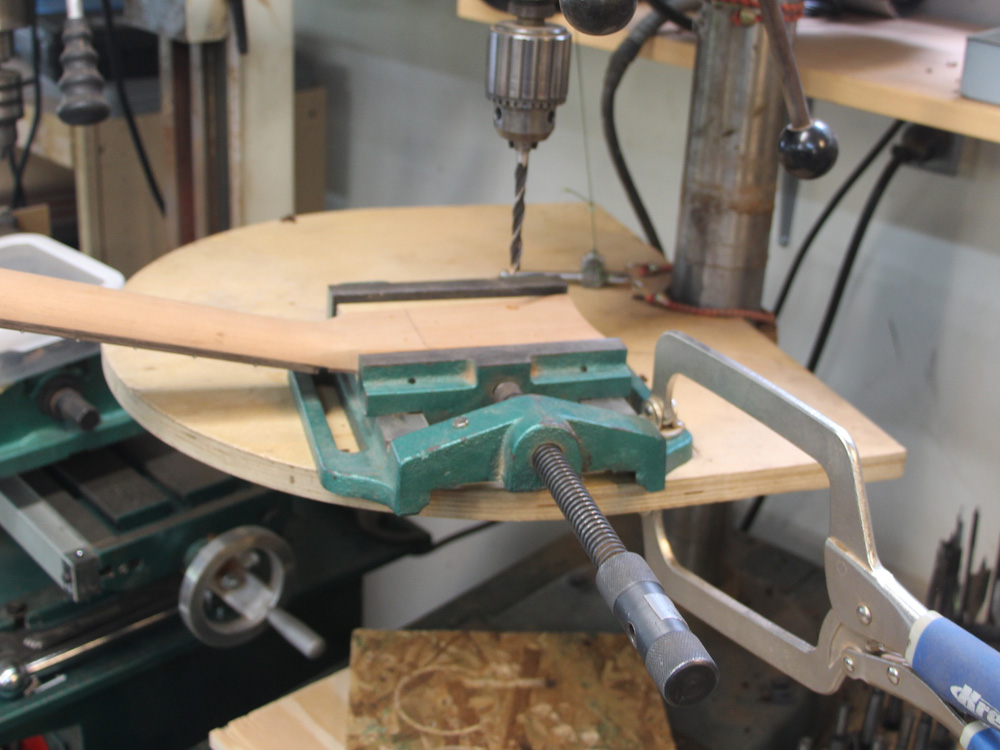
I start by drilling pilot holes for the tuning pegs.
 ( 189 ) 31-July-2014
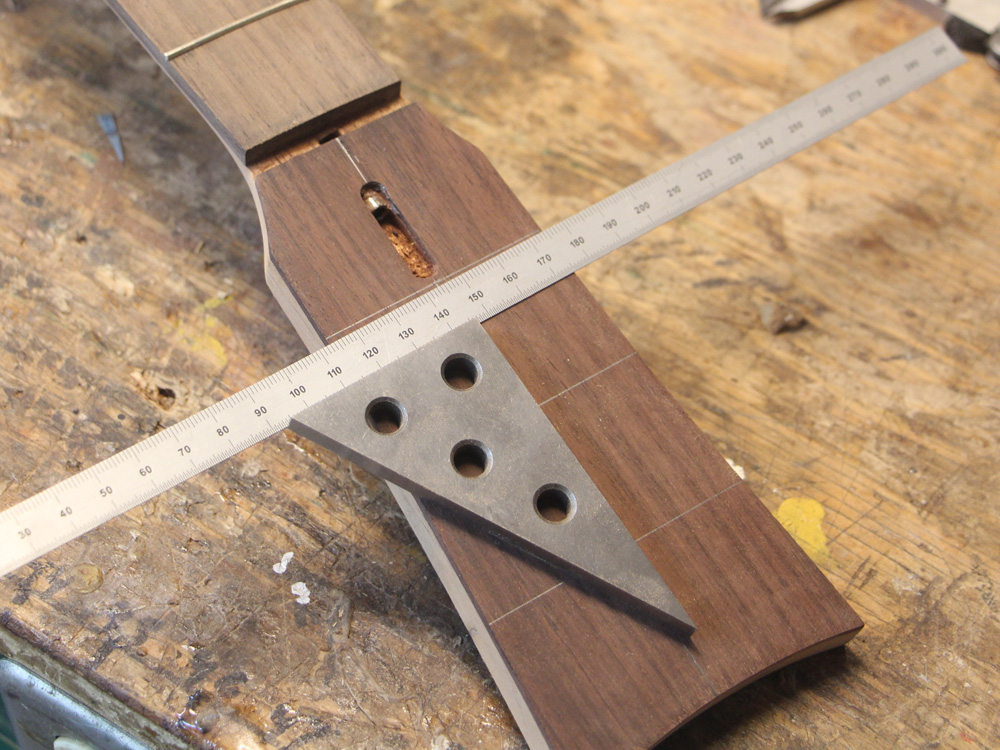
Then I drill the holes from both sides, meeting in the middle.
 ( 190 ) 31-July-2014
A look at the tuning machines.
 ( 191 ) 31-July-2014
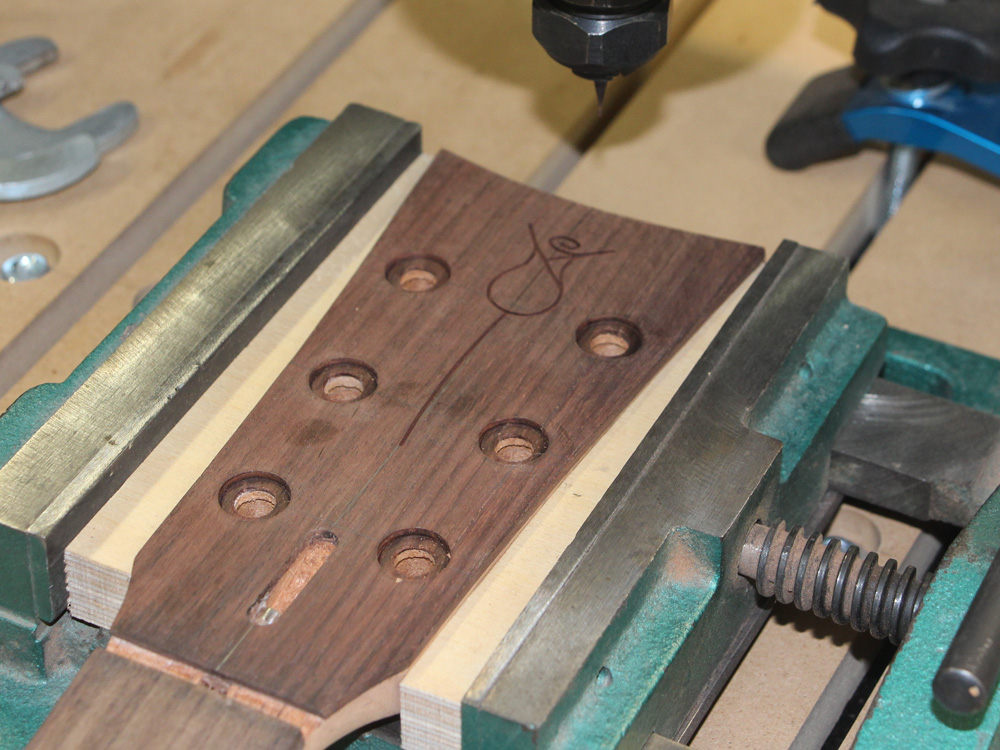
I use my CNC tool to route the channel for the headstock inlay.
 ( 192 ) 31-July-2014
The business end of the CNC router.
 ( 193 ) 31-July-2014
 ( 194 ) 31-July-2014
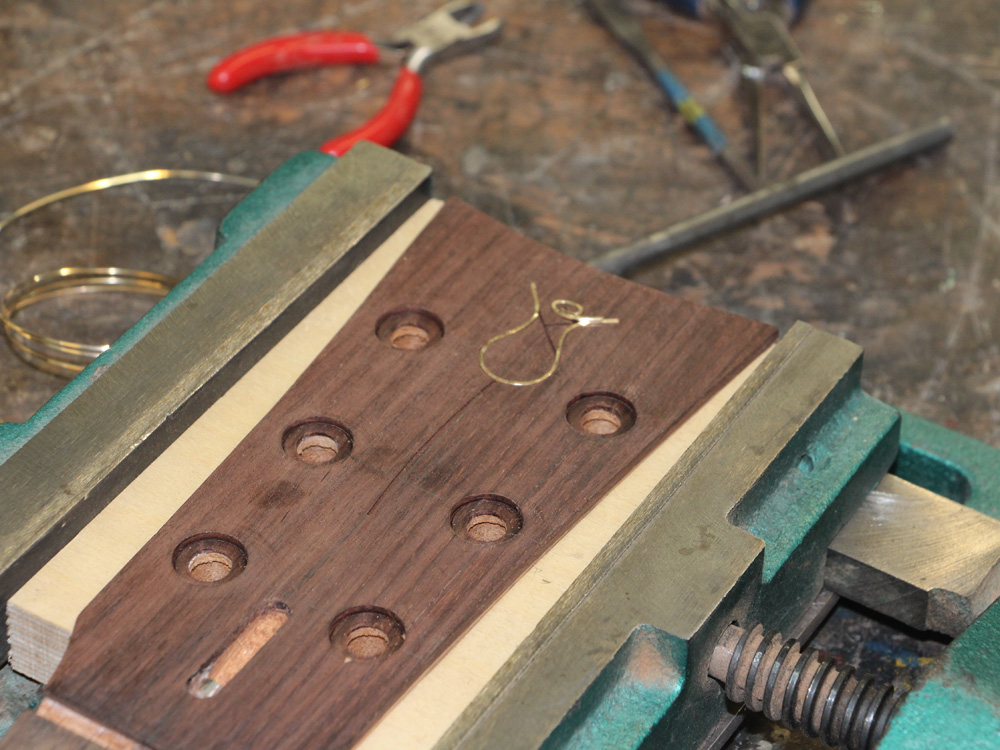
I use square gold wire to create the rose.
 ( 195 ) 31-July-2014
The wire is glued in place slightly proud of the surface.
 ( 196 ) 31-July-2014
And then it is sanded level with the surface.
 ( 197 ) 31-July-2014
 ( 198 ) 31-July-2014
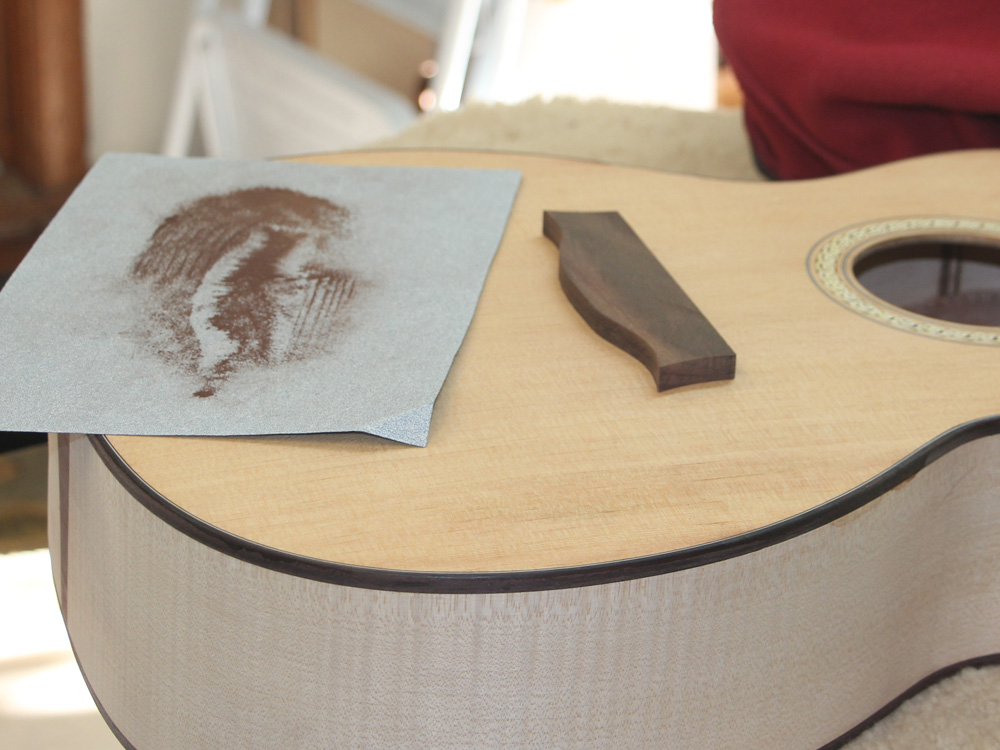
The bottom of the bridge has to match the curve of the top. This sanding block matches the top profile.
 ( 199 ) 31-July-2014
I fine tune the bottom of the bridge insitue.
 ( 200 ) 31-July-2014
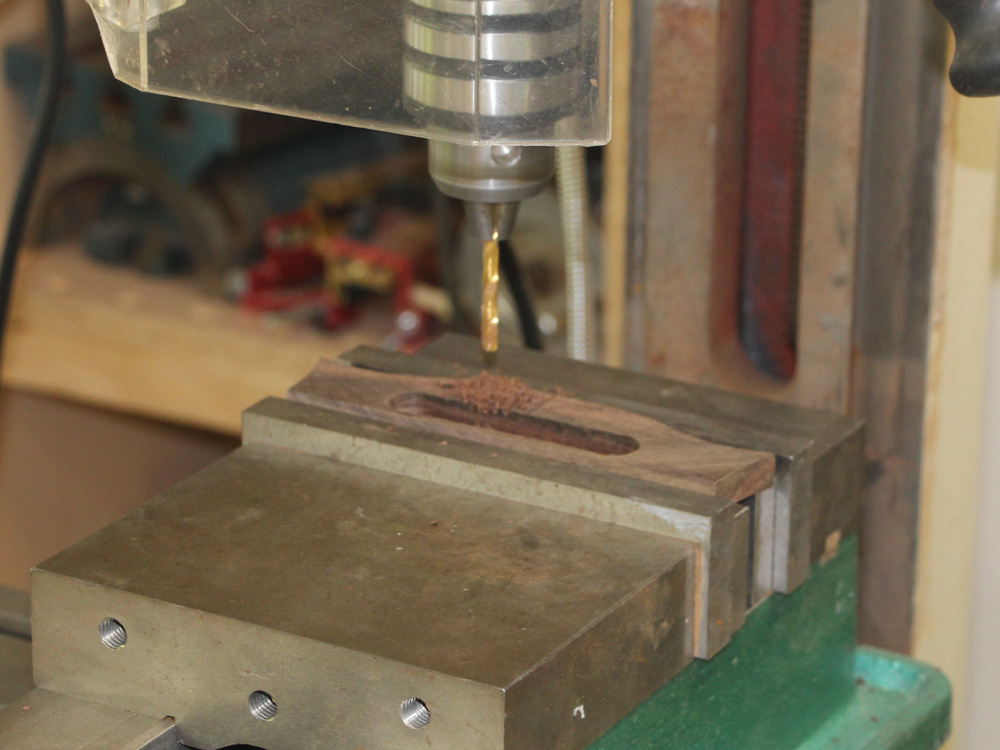
The milling machine is used to route out the bridge plate channel.
 ( 201 ) 31-July-2014
And then I drill the holes for the bridge pins.
 ( 202 ) 31-July-2014
I have installed maple bridge pin frames just for the look.
 ( 203 ) 31-July-2014
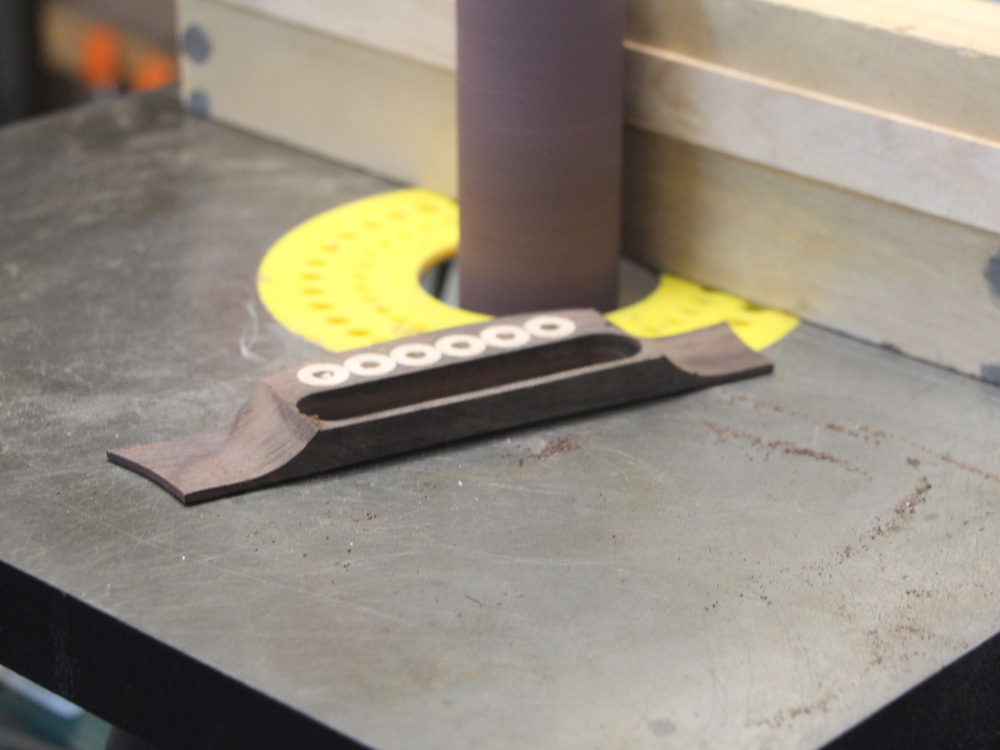
The wings are created using the oscillating sander and an adjustable platen.
 ( 204 ) 31-July-2014
I first sand one wing and then flip the bridge over and sand the other wing. I take a little bit away with each pass until the wings are about 60 mil thick at the end. This tool makes sure the wings are symmetrical
 ( 205 ) 31-July-2014
 ( 206 ) 31-July-2014
The front of the bridge gets beveled back at about 5 degrees.
 ( 207 ) 31-July-2014
Here you can see I have shaped the end of the set screws that the neck contacts into hemispheres. This will ensure a defined contact surface and promote a smooth neck motion as it is adjusted.
 ( 208 ) 31-July-2014
I drill two holes where the set screws contact the back side of the heel.
 ( 209 ) 31-July-2014
And then install brass contact plugs.
 ( 210 ) 31-July-2014
I sand them smooth to finish up. These plugs provide a firm contact surface for the set screws. The set screws dig into the plugs just a little and prevent the neck from sliding out of position.
 ( 211 ) 31-July-2014
I used the disk sander to trim up the end of the fretboard.
 ( 212 ) 31-July-2014
I use a straight edge and a feel gauge to adjust the truss rod until the neck is as straight as I can make it.
 ( 213 ) 31-July-2014
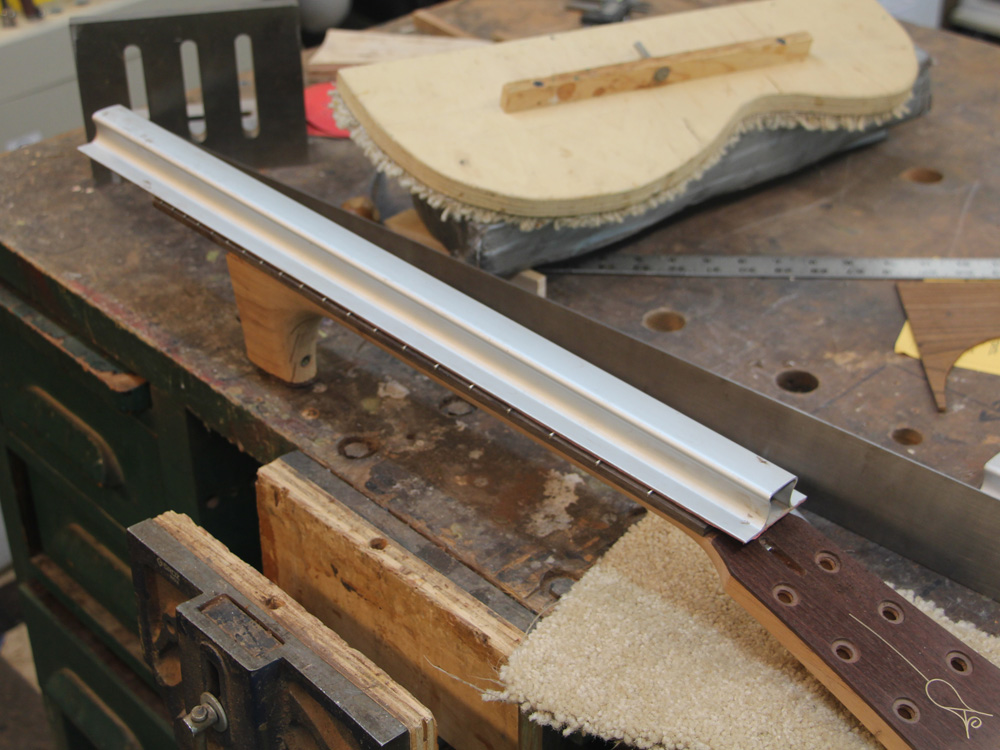
And then I use a very straight sanding rail to level the tops of the frets.
 ( 214 ) 31-July-2014
Since the tops of the frets have been flattened, I use a contoured sanding stick to crown the frets.
 ( 215 ) 31-July-2014
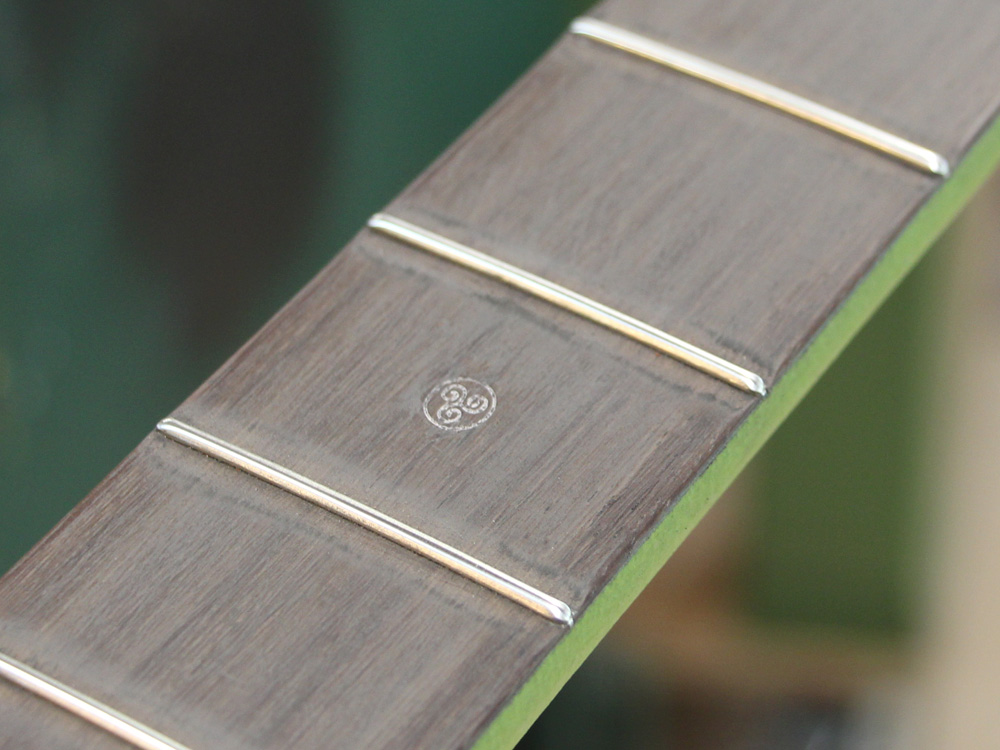
Here I am installing the fret markers on the edge of the fretboard.
 ( 216 ) 31-July-2014
 ( 217 ) 31-July-2014
I use a modified needle file to dress the end of the frets.
 ( 218 ) 31-July-2014
I create a little hemispheres on the fret ends. This makes for a comfortable feel and an attractive look.
 ( 219 ) 31-July-2014
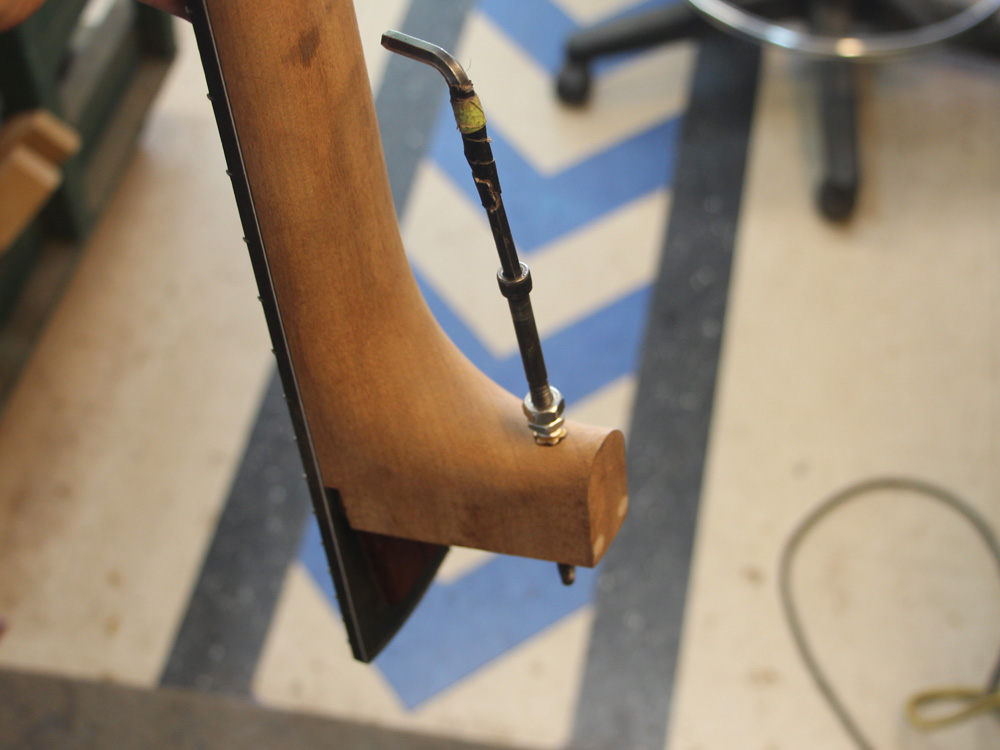
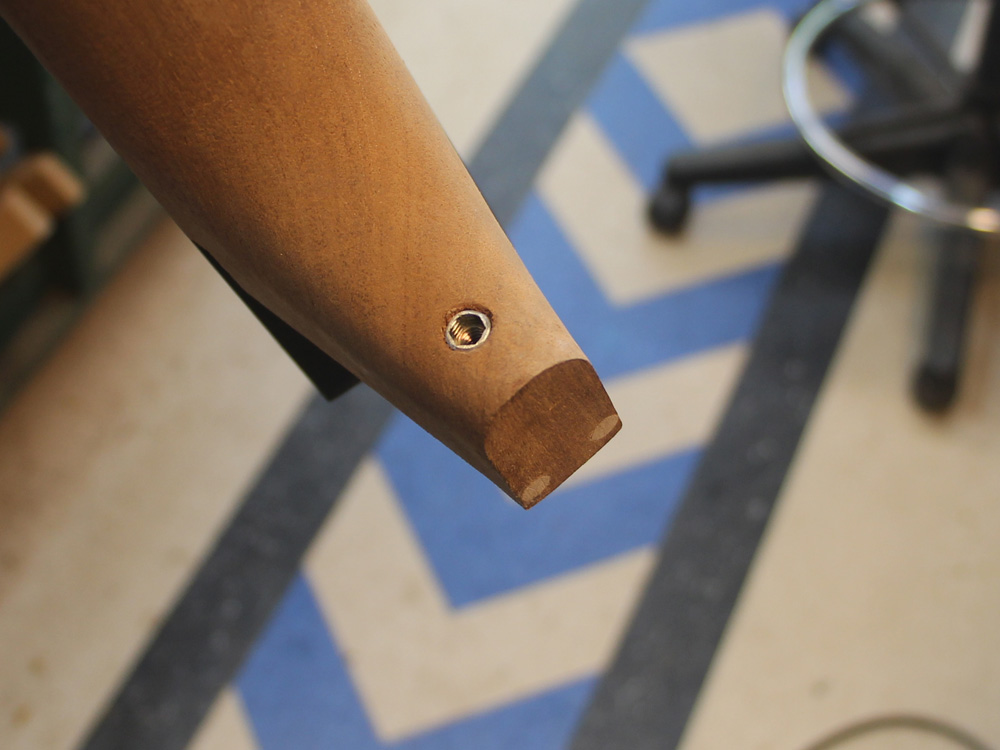
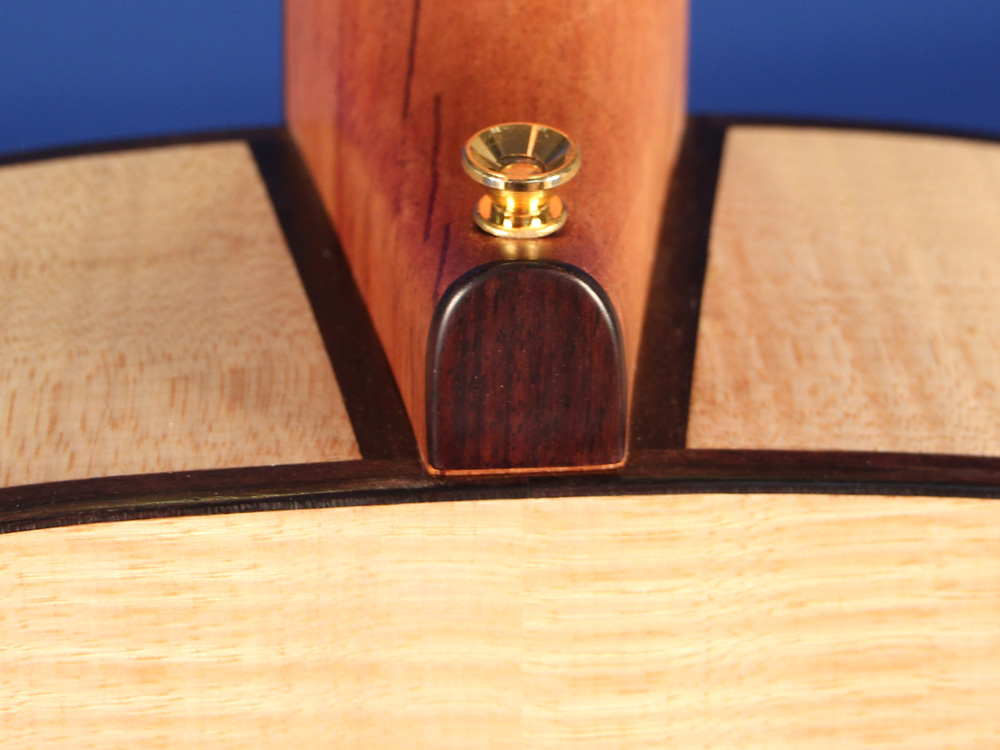
The Tilt Action Neck adjustment hole is in the front of the heel. I use a 1/4 -20 wood insert in the hole where I will install a removable strap pin.
 ( 220 ) 31-July-2014
The hex tool used to adjust the angle of the neck fits easily into the hole.
 ( 221 ) 31-July-2014
The heel cap needs to be trimmed so it is parallel to the back.
 ( 222 ) 31-July-2014
I use this special sanding tool that slides along the back to sand the heel at the proper angle.
 ( 223 ) 31-July-2014
The sanding surface is offset from the sliding surface.
 ( 224 ) 31-July-2014
I use a spacer between the back of the guitar and the tool to set the right height.
 ( 225 ) 31-July-2014
A heel cap will be glued to the end of the heel.
 ( 226 ) 31-July-2014
The plane of the back and the plane of the heel cap are the same.
 ( 227 ) 31-July-2014
There is a small gap between the bottom edge of the heel cap and the binding on the bottom of the guitar. This gap is necessary for the neck to be adjustable.
 ( 228 ) 31-July-2014
Now I am ready to start the finishing process. I set up my paint booth tent with a recirculating filter to reduce the dust and the over spray.
 ( 229 ) 31-July-2014
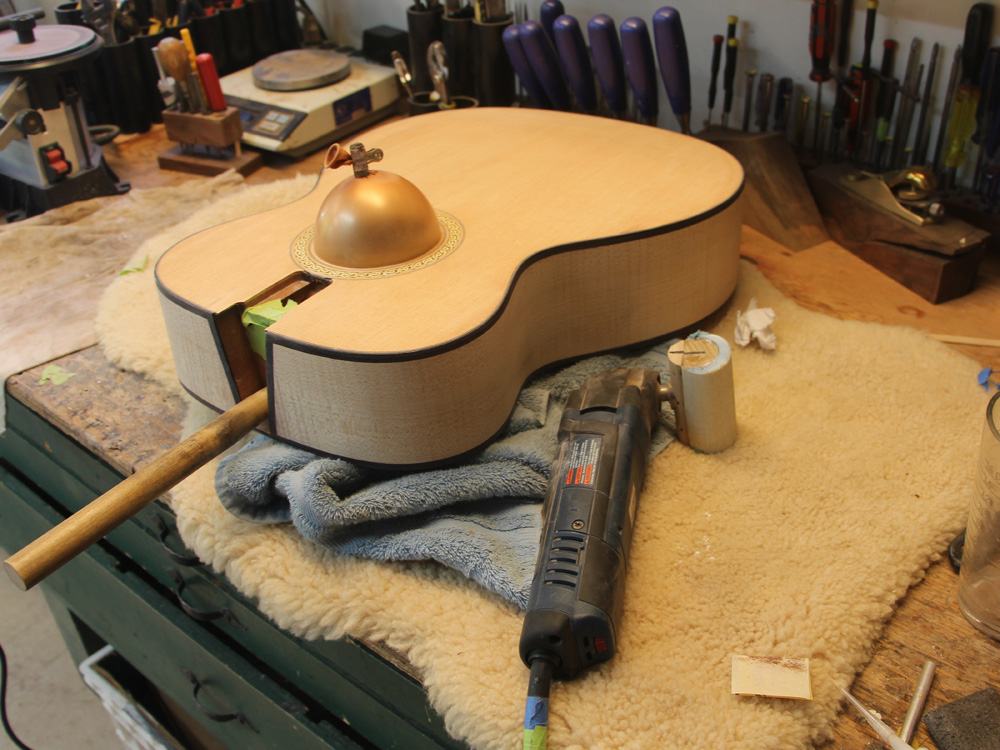
I mount the guitar body on this fixture to help in the spay process.
 ( 230 ) 31-July-2014
I put a small balloon in the sound hole to keep the spray out.
 ( 231 ) 31-July-2014
As I apply the lacquer I periodically sand the surface level. The process involves sanding down the high spots and filling in the low spots until the whole surface is smooth.
 ( 232 ) 31-July-2014
Once the finish has cured, I temporarily mount the bridge with a long throat C-clamp.
 ( 233 ) 31-July-2014
I carefully score the perimeter with a sharp knife and then remove the finish where the bridge will go. To ensure a strong bond the bridge needs to make wood to wood contact.
 ( 234 ) 31-July-2014
 ( 235 ) 31-July-2014
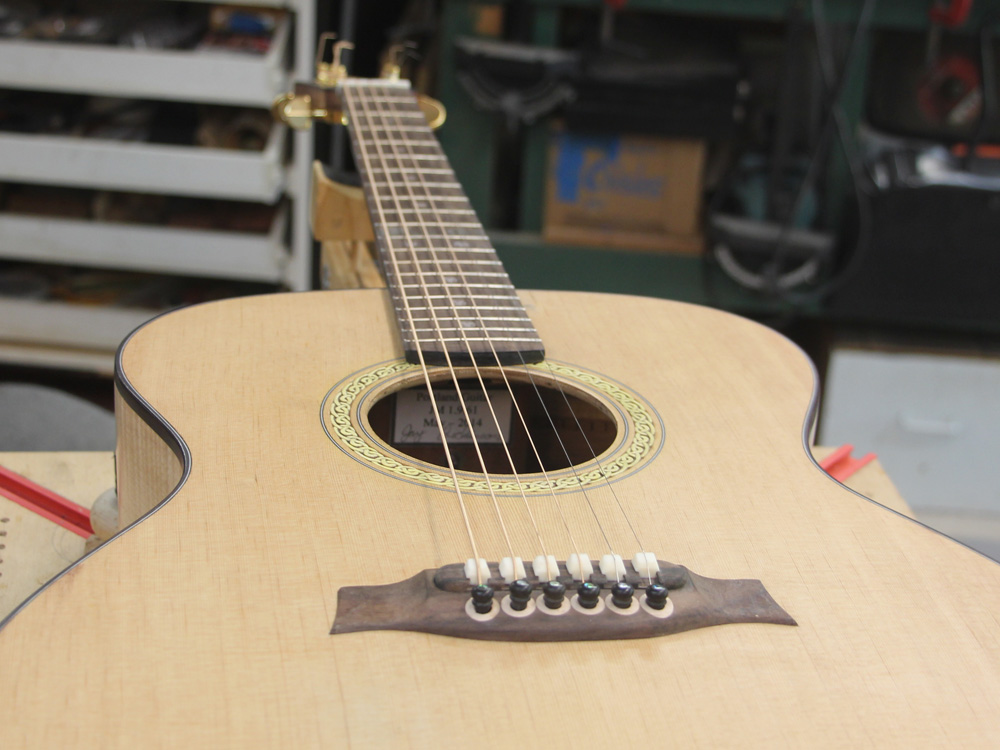
Now I can glue the bridge in place.
 ( 236 ) 31-July-2014
While the bridge is setting up I install the tuning machines.
 ( 237 ) 31-July-2014
And then the next morning I string up the guitar for the first time.
 ( 238 ) 31-July-2014
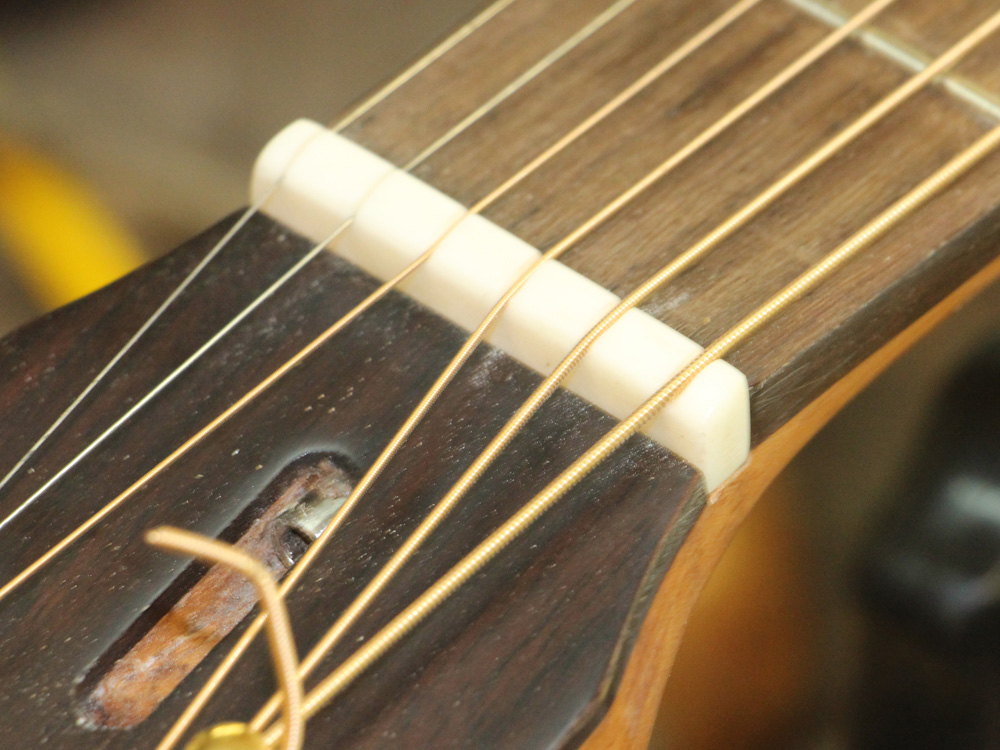
A view of the bone nut.
 ( 239 ) 31-July-2014
Drilling a hole for the strap pin.
 ( 240 ) 31-July-2014
 ( 241 ) 31-July-2014
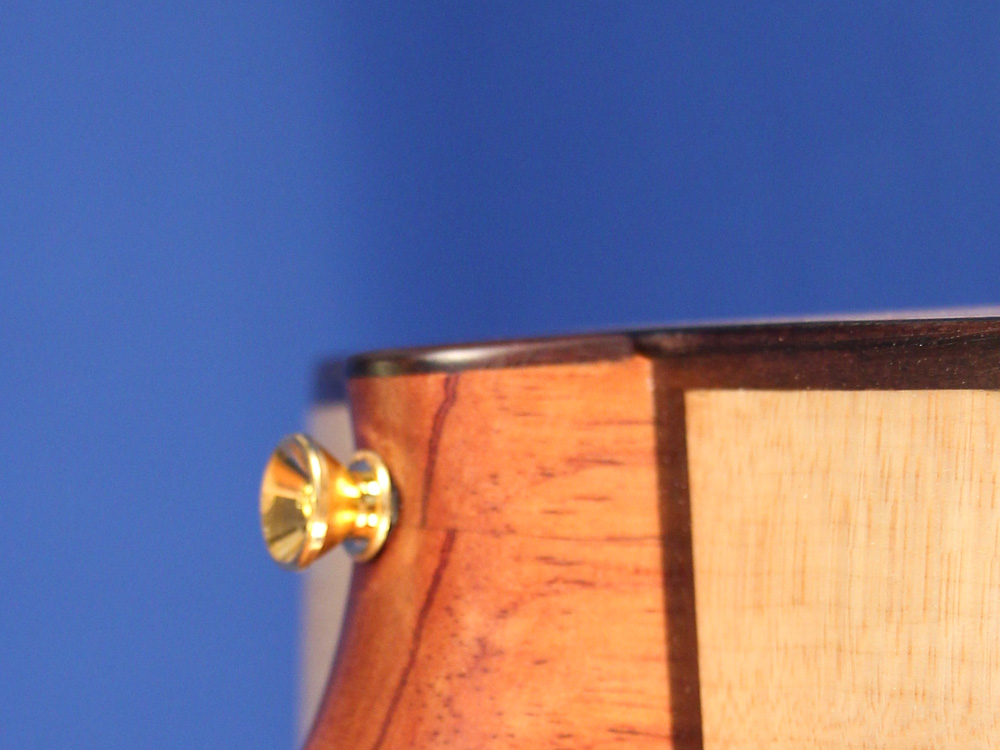
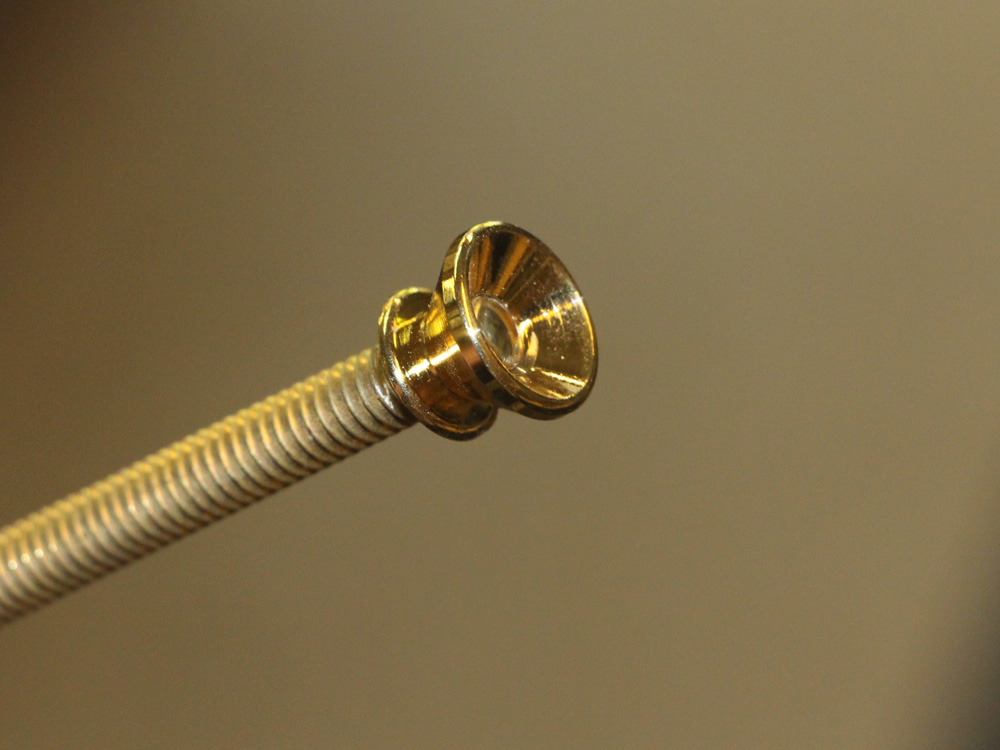
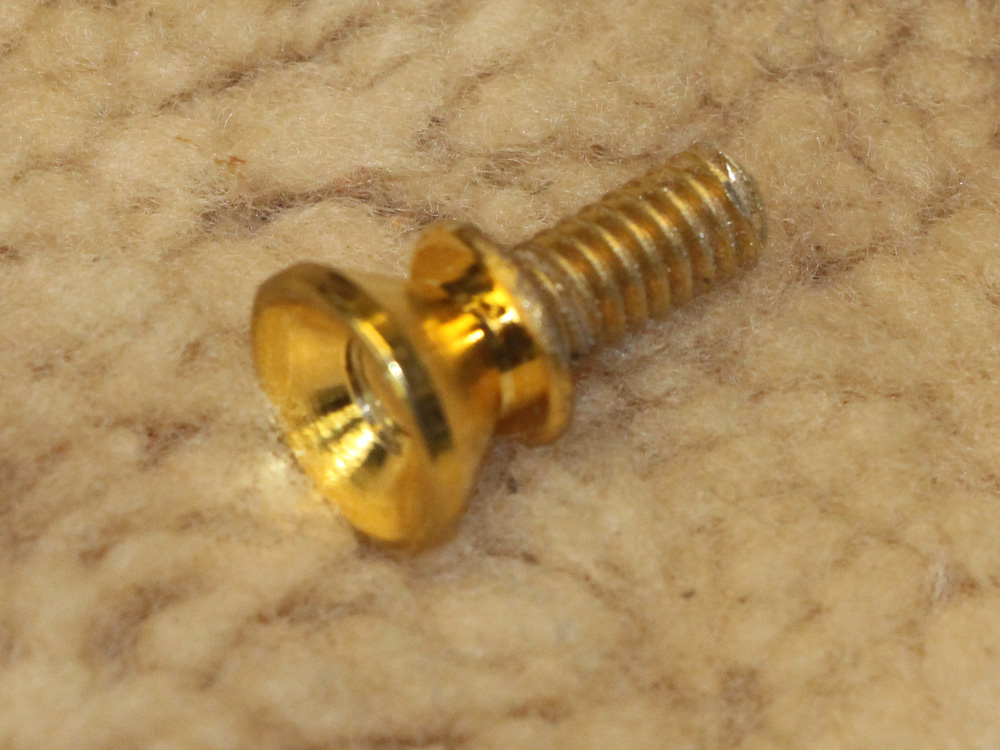
I create a strap button for the heel of the neck by mounting a button on a 1/4-20 threaded rod.
 ( 242 ) 31-July-2014
 ( 243 ) 31-July-2014
The strap button goes into the Tilt Action Neck adjustment access hole.
 ( 244 ) 31-July-2014
 ( 401 ) 31-July-2014
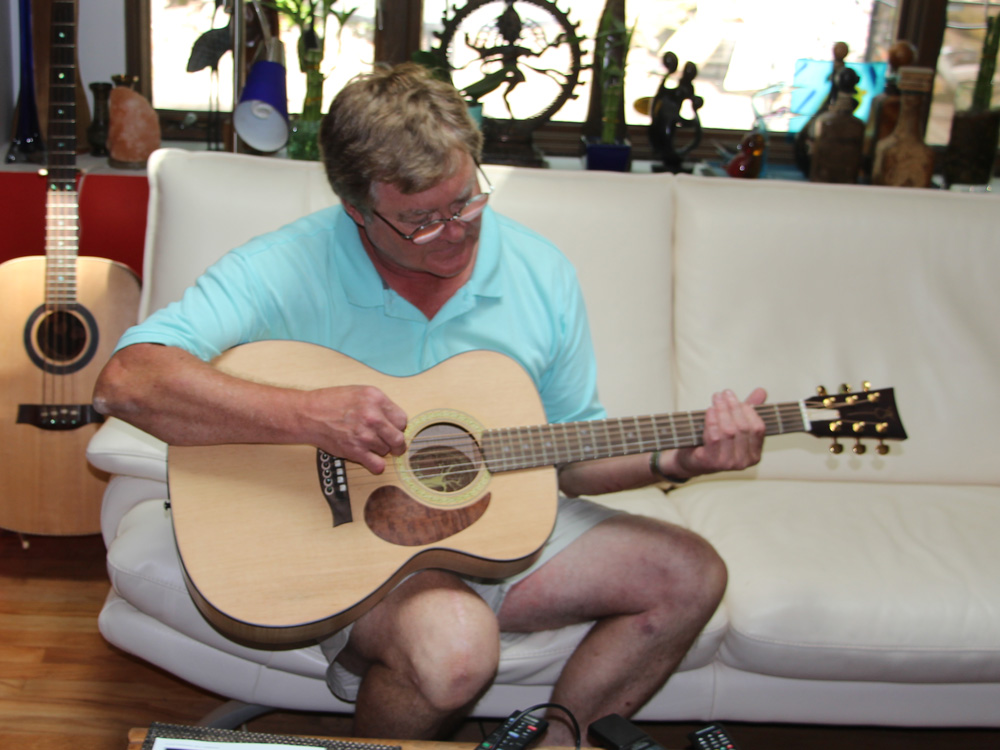
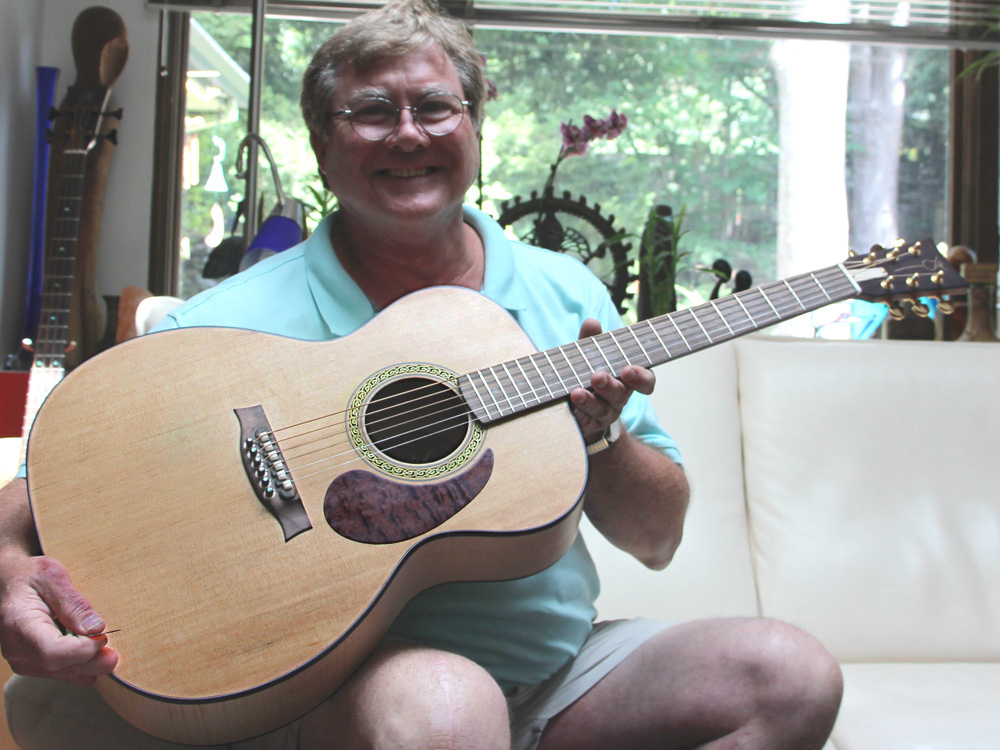
Mark R. getting a first look at his guitar.
 ( 402 ) 31-July-2014
 ( 403 ) 31-July-2014
 ( 404 ) 31-July-2014
 ( 405 ) 31-July-2014
Beautiful music just waiting to get out.
 ( 406 ) 31-July-2014
Happy!